Integrating OpenShift Authentication into Jenkins
Posted: October 19th, 2016 | Author: sabre1041 | Filed under: Technology | Tags: Authentication, Jenkins, OAuth, OpenShift | 1 Comment »Note: This post contains details about components which may be in active development. Please refer to any release notes or documentation as it relates to the current status and supportability
Jenkins, the Open Source continuous integration server, has been included as a supported offering on OpenShift since the release of OpenShift version 3.1. With only a few simple clicks, an entire continuous integration and delivery pipeline for automating and simplifying the application build and deployment process can be created. All a user needs to do is use the OpenShift web console or command line tool, select the Jenkins template, and log in to the deployed Jenkins environment using the password entered or automatically generated. The Jenkins image for OpenShift provides a fully containerize solution supported by plugins specifically designed for integration with OpenShift. One feature that had been missing previously was the ability to leverage OpenShift as a single sign on (SSO) provider and apply the same authentication mechanisms to access Jenkins. As a user attempts to access a protected resource, they are redirected to authenticate with OpenShift. After authenticating successfully, they are redirected back to the original application with an OAuth token that can be used by the application to make requests on behalf the user. A similar approach already exists for the Kibana integrated aggregated logging solution. A newly released Jenkins plugin, called the OpenShift Login Plugin, now provides the support to enable this functionality.
The first step towards implementing this solution is to add the OpenShift Login Plugin to Jenkins. Adding a plugin to Jenkins takes only a few steps. Login to Jenkins and on the left side of the page, select Manage Jenkins and then Manage Plugins. On the Available tab, enter “OpenShift Login” in the textbox to limit the available plugins presented.
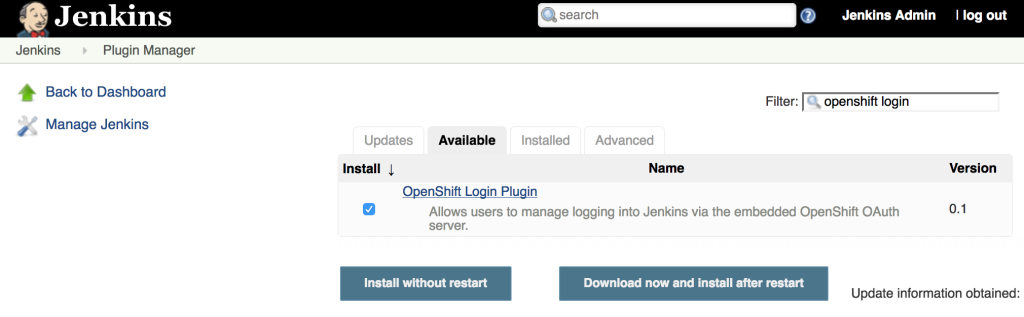
Select the “OpenShift Login Plugin” and click Download Now and Install After Restart. As it’s downloading, be sure to check the “Restart Jenkins when the installation is complete and no jobs are running” so that Jenkins restarts once the plugin has been downloaded. After Jenkins restarts, login once again.
Since the OpenShift Login Plugin interacts with the OpenShift OAuth server to facilitate the single sign on process, Jenkins must be first configured as an OAuth client within OpenShift. There are two ways this can be configured:
- Create a new OAuth client
- Use a service account to represent an OAuth client
The first method is to create a new standalone OAuth client. An OAuthClient is another API object type, similar to other API objects such as a Pod, Service and Route. However, since it is configured at the cluster level, the ability to create or modify is restricted to only elevated users, such as cluster administrators. If your user does not have this level of access, the service account method as described in a subsequent section must be used.
An OAuthClient is represented by a structure similar to the following:
{
    "kind": "OAuthClient",
    "apiVersion": "v1",
    "metadata": {
        "name": "oauth-client-example",
    },
    "secret": "...",
    "redirectURIs": [
        "https://example.com"
    ]
}
When configuring the OAuth client within an application such as Jenkins, the name in the metadata section is analogous to a client_id. The secret is an access credential that is shared with both the authorization server (OpenShift) and the client (Jenkins) and is used to determine trust between each other. Finally, the redirect URI field specifies the location the OAuth server will redirect the user once the authorization process completes (successfully or unsuccessfully).
To simplify the creation of an OAuth client, an OpenShit template has been created to streamline the process and allows for the user to provide values for the OAuthClient name, secret and a single redirect URI. If a secret is not provided, one will be automatically generated.
Execute the following command to add the template to OpenShift.
oc create -f - <<EOF
{
    "kind": "Template",
    "apiVersion": "v1",
    "metadata": {
        "name": "jenkins-oauth-template"
    },
    "labels": {
        "template": "jenkins-oauth-template"
    },
    "parameters": [
        {
            "description": "The name for the oauth client.",
            "name": "OAUTH_CLIENT_NAME",
            "value": "jenkins-oauth",
            "required": true
        },
        {
            "description": "Oauth client secret",
            "name": "OAUTH_CLIENT_SECRET",
            "from": "user[a-zA-Z0-9]{64}",
            "generate": "expression"
        },
        {
            "description": "The name for the oauth client.",
            "name": "OAUTH_CLIENT_REDIRECT_URI",
            "required": true
        }
    ],
    "objects": [
        {
            "kind": "OAuthClient",
            "apiVersion": "v1",
            "metadata": {
                "name": "\${OAUTH_CLIENT_NAME}"
            },
            "secret": "\${OAUTH_CLIENT_SECRET}",
            "redirectURIs": [
                "\${OAUTH_CLIENT_REDIRECT_URI}"
            ]
        }
    ]
}
EOF
The most important parameter, and only required parameter, in the template is the redirect URI. Jenkins exposes an endpoint at /securityRealm/finishLogin that processes the OAuth response and stores the OAuth token for subsequent use. The following command will create the OAuth client by first looking up the hostname of the exposed route and pass the returned value as an input parameter:
oc process -v=OAUTH_CLIENT_REDIRECT_URI=`oc get route jenkins --template='{{if .spec.tls }}https{{ else }}http{{ end }}://{{ .spec.host }}/securityRealm/finishLogin'` jenkins-oauth-template | oc create -f-
Confirm the new OAuthClient called oauth-jenkins has been created by running the following command:
oc get oauthclients
As mentioned previously, if the client secret is not provided during template instantiation, one will be randomly generated. This secret will need to be configured in Jenkins to establish the client/server trust. To locate the secret that was configured in the OAuthClient API object, execute the following command:
oc get oauthclients jenkins-oauth --template='{{ .secret }}'
With the OAuthClient in place, configure Jenkins to make use of the OpenShift Login plugin. Navigate to the Jenkins summary page and click Manage Jenkins and then Configure Global Security. Select the Login with OpenShift radio button to expose several textboxes for further configuration.

The OpenShift login plugin will attempt to make use of preconfigured variables based on the environment, however, several fields do require manual input. The following fields require modifications:
- OpenShift Server Prefix: Location of the internal OpenShift service (For externally hosted Jenkins servers, utilize the Master API address)
- Enter https://openshift.default.svc
- OpenShift Redirect URL: Location of the OpenShift Master API which will be used to redirect the user to authenticate with OpenShift
- Dependent on the environment. An example could be https://master.example.com:8443
- Client Id: Name of the OAuth Client
- Enter the name of the OAuthClient created previously: jenkins-oauth
- Client Secret. OAuth Client Secret
- Enter the client secret value obtained from the oauth client previously
Click Save to apply the changes. Once the changes have been made, click the logout button on the top right corner of the page. This will trigger a new authentication process and redirect the user to the OpenShift web console to authenticate.
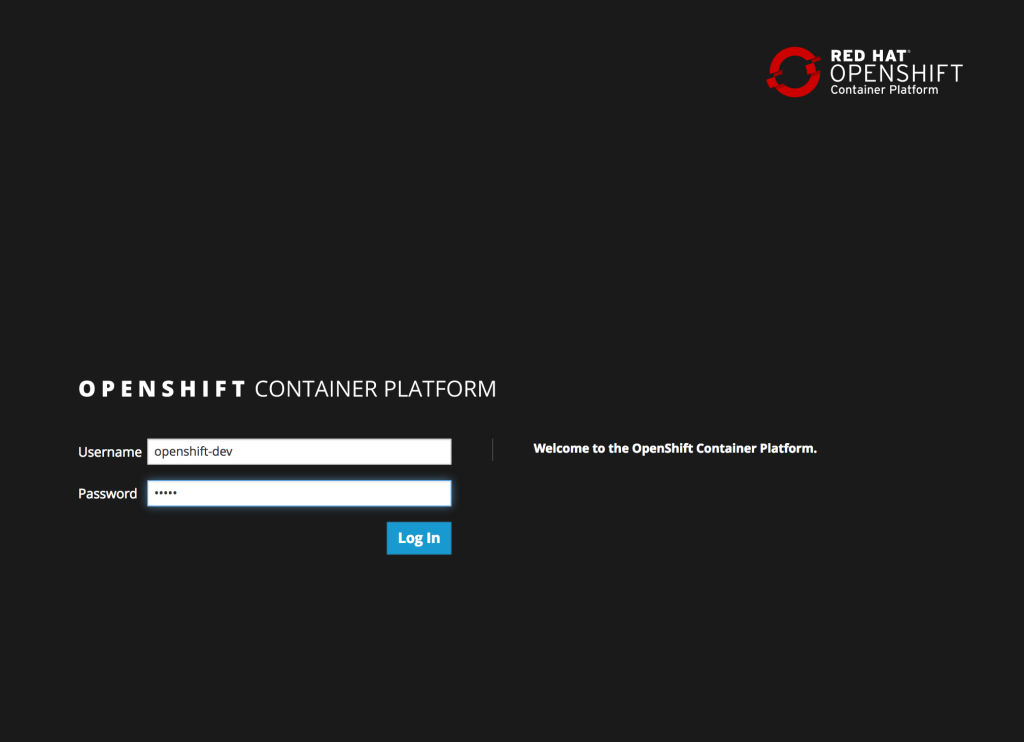
Enter a valid username and password, click Login and authentication will be performed against the realm configured within OpenShift and upon success, the browser will redirect back to the Jenkins home page.
The majority of the functionality to enable the dynamic capabilities between Jenkins and OpenShift is through the use of several Jenkins plugins. Plugins can be installed in Jenkins by logging onto the master web interface and selecting the Manage Jenkins link on the lefthand side, and then selecting Manage Plugins.